Launch your first Kubernetes cluster
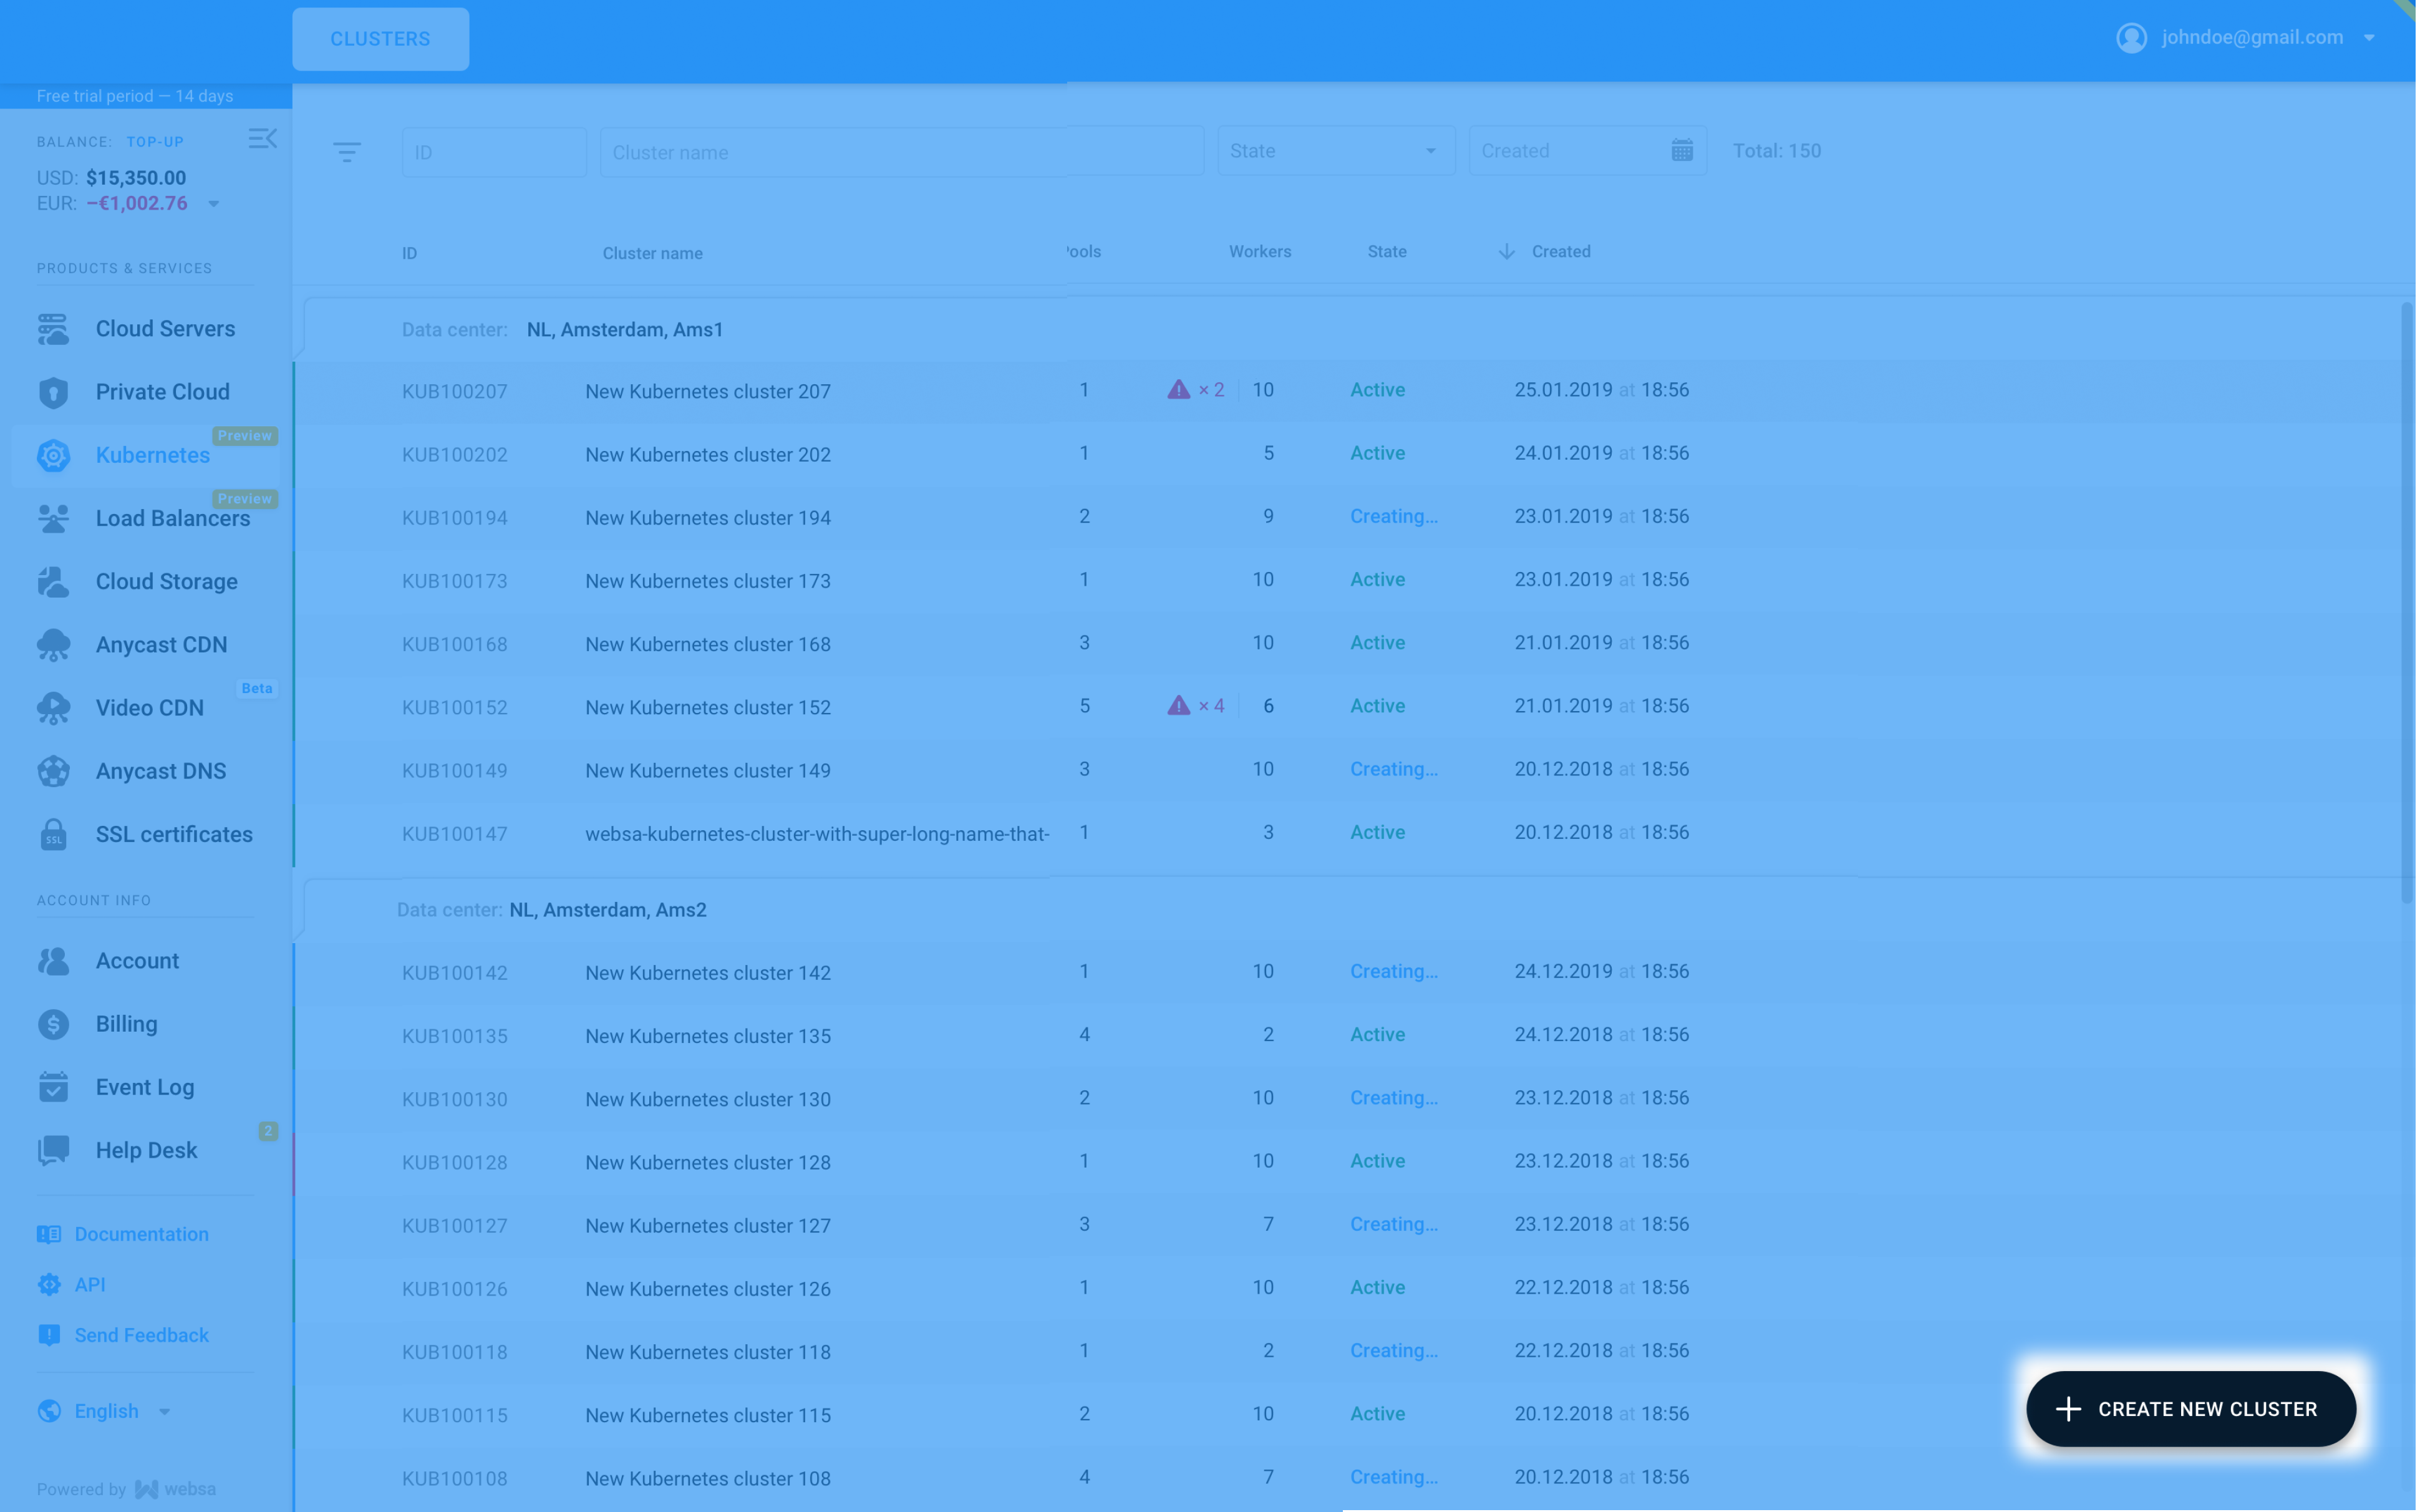
- Go to the Kubernetes section
- Name your first Cluster
- Select Kubernetes version
- Set up your Worker pool
- Choose your tariff
¶ 1. Go to the Kubernetes section
Start by selecting Kubernetes from the Websa panel’s left sidebar navigation menu.
.png)
¶ 2. Name your Cluster and choose the DC
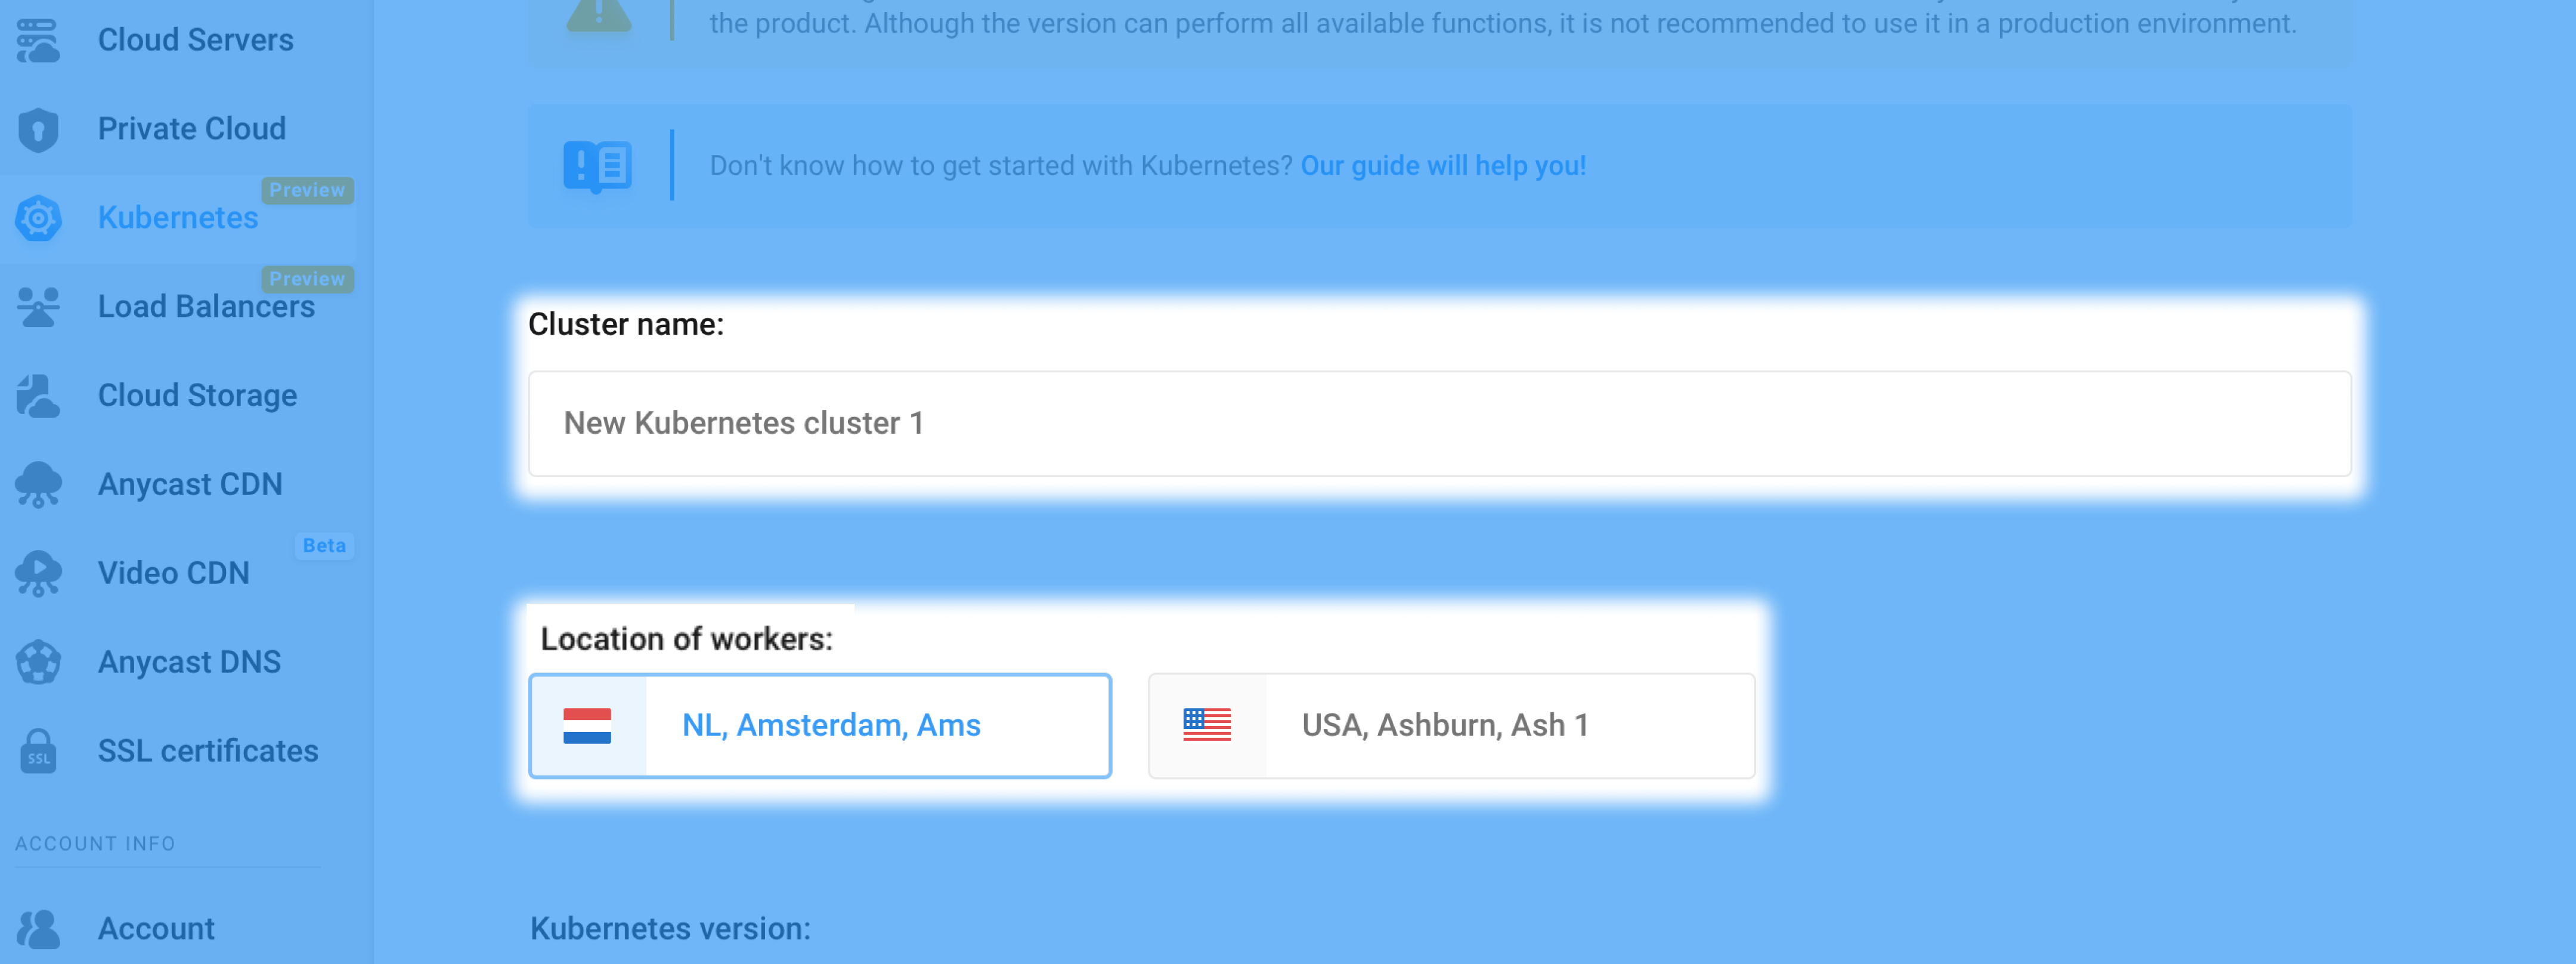
Select one of the proposed Data Centers, as shown above.
¶ 3. Select Kubernetes version
Scroll down to choose the Kubernetes version.

Press Continue to confirm the Cluster pre-set and proceed to Worker Pool settings.
¶ 4. Set up your Worker pool
Switch between the tabs to select Worker pool cloud type.
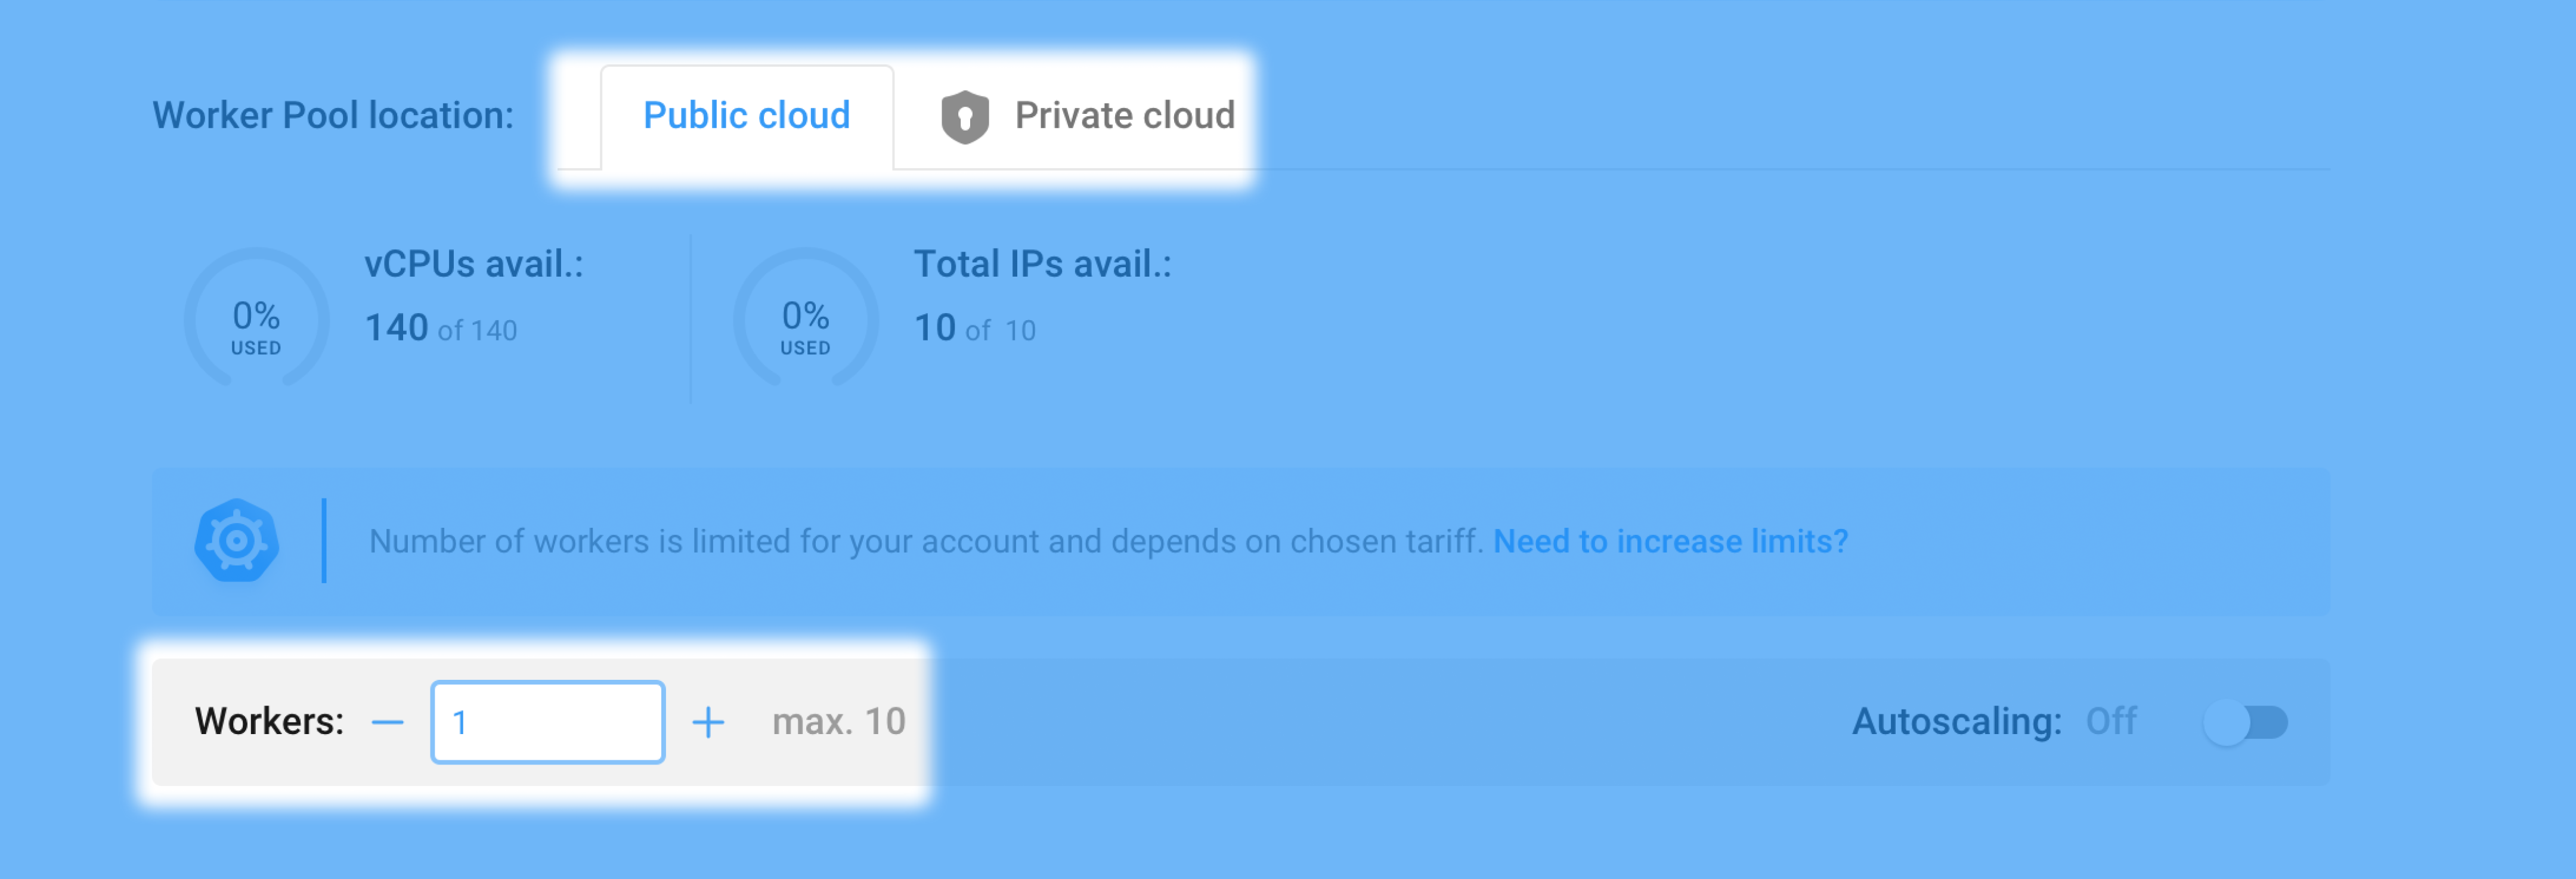
You can manually increase the default amount of 1 worker with the controls as highlighted above or enable the Autoscaler to automatically adapt the worker pool based on node utilization metrics,
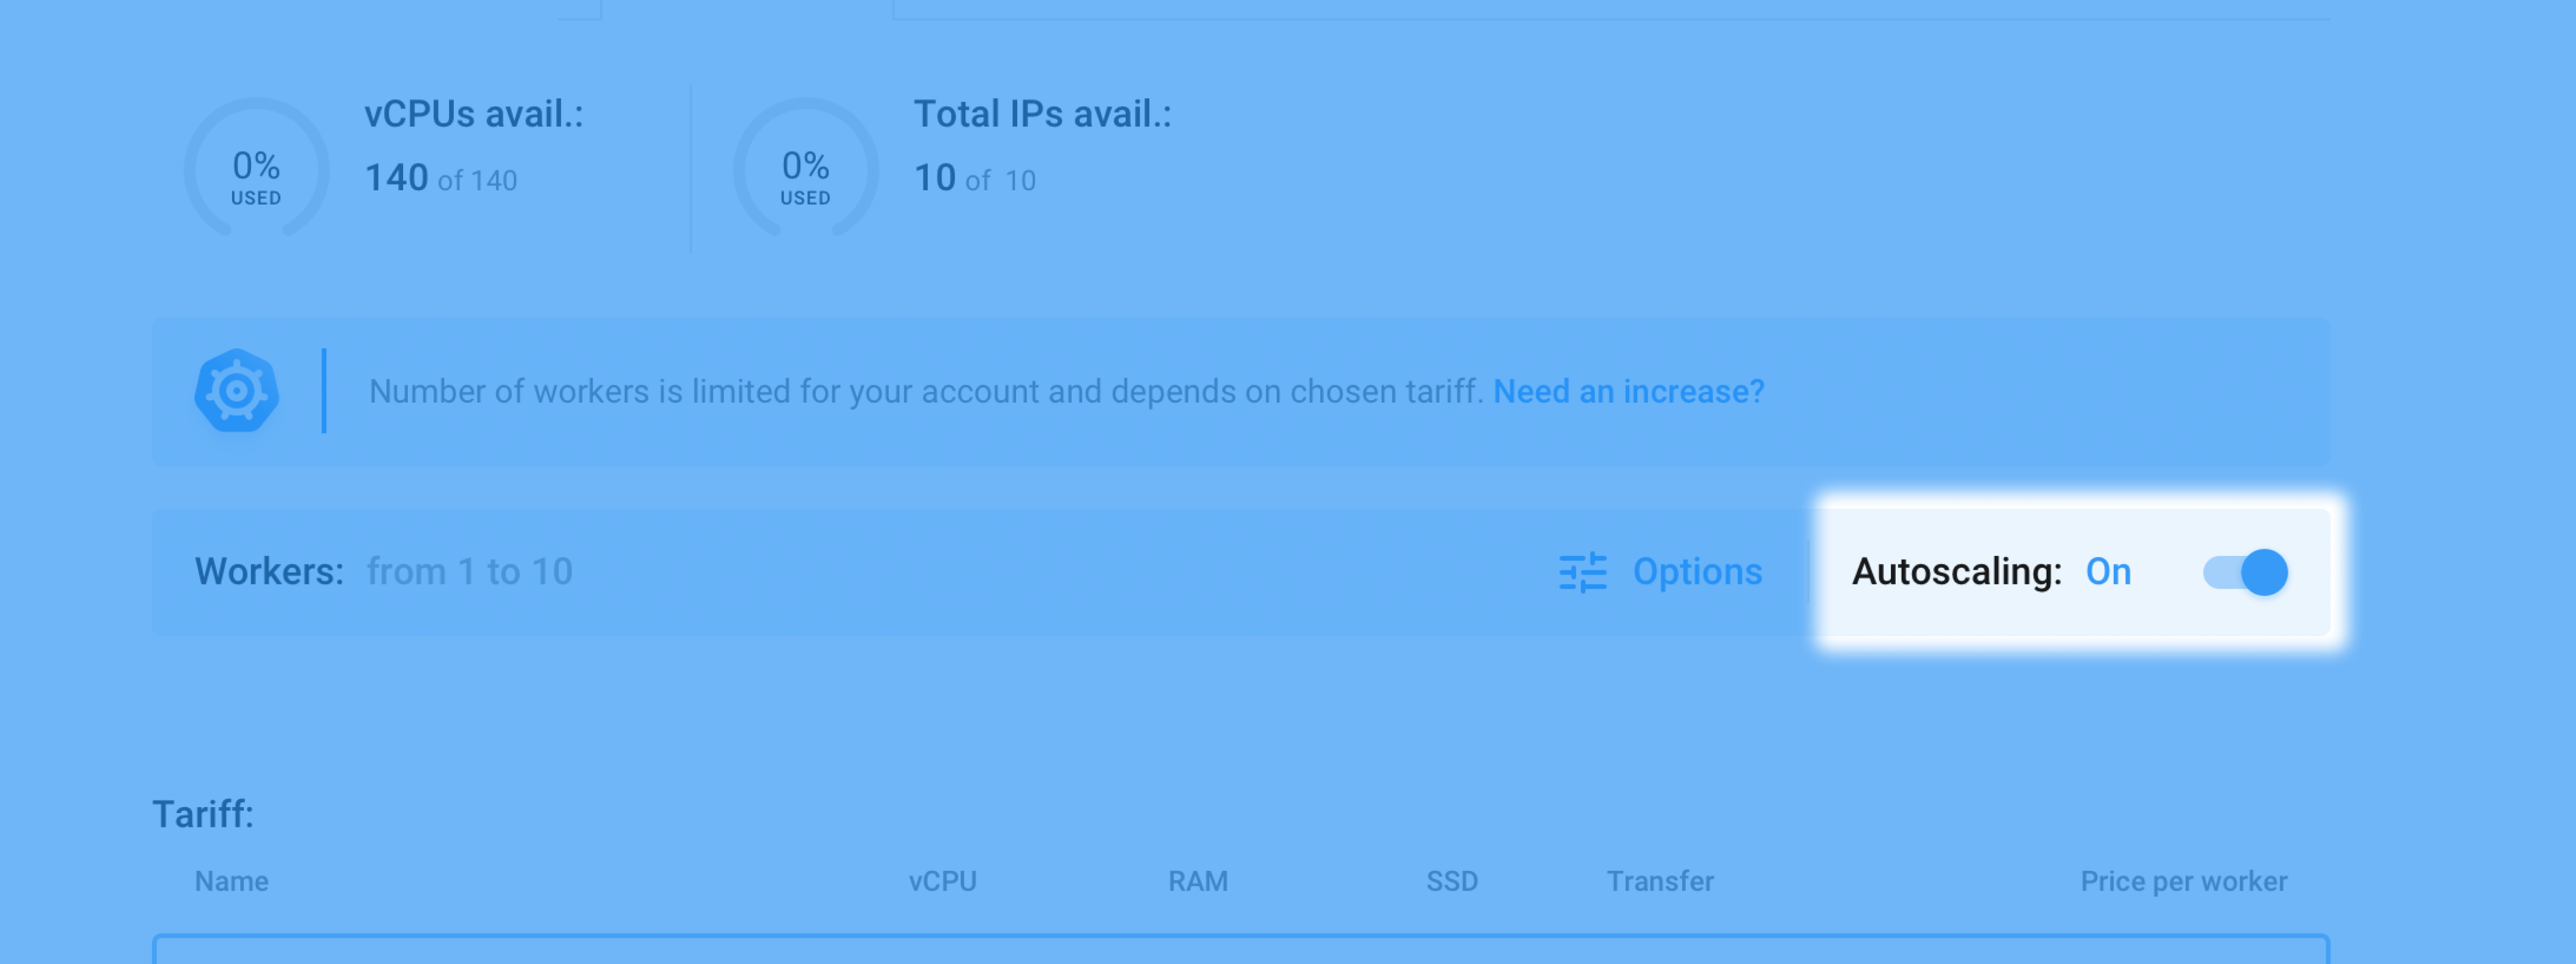
by switching the corresponding toggle on, as shown above.
For efficient cluster autoscaler performance, set up Horizontal or Vertical Pod Autoscaling.
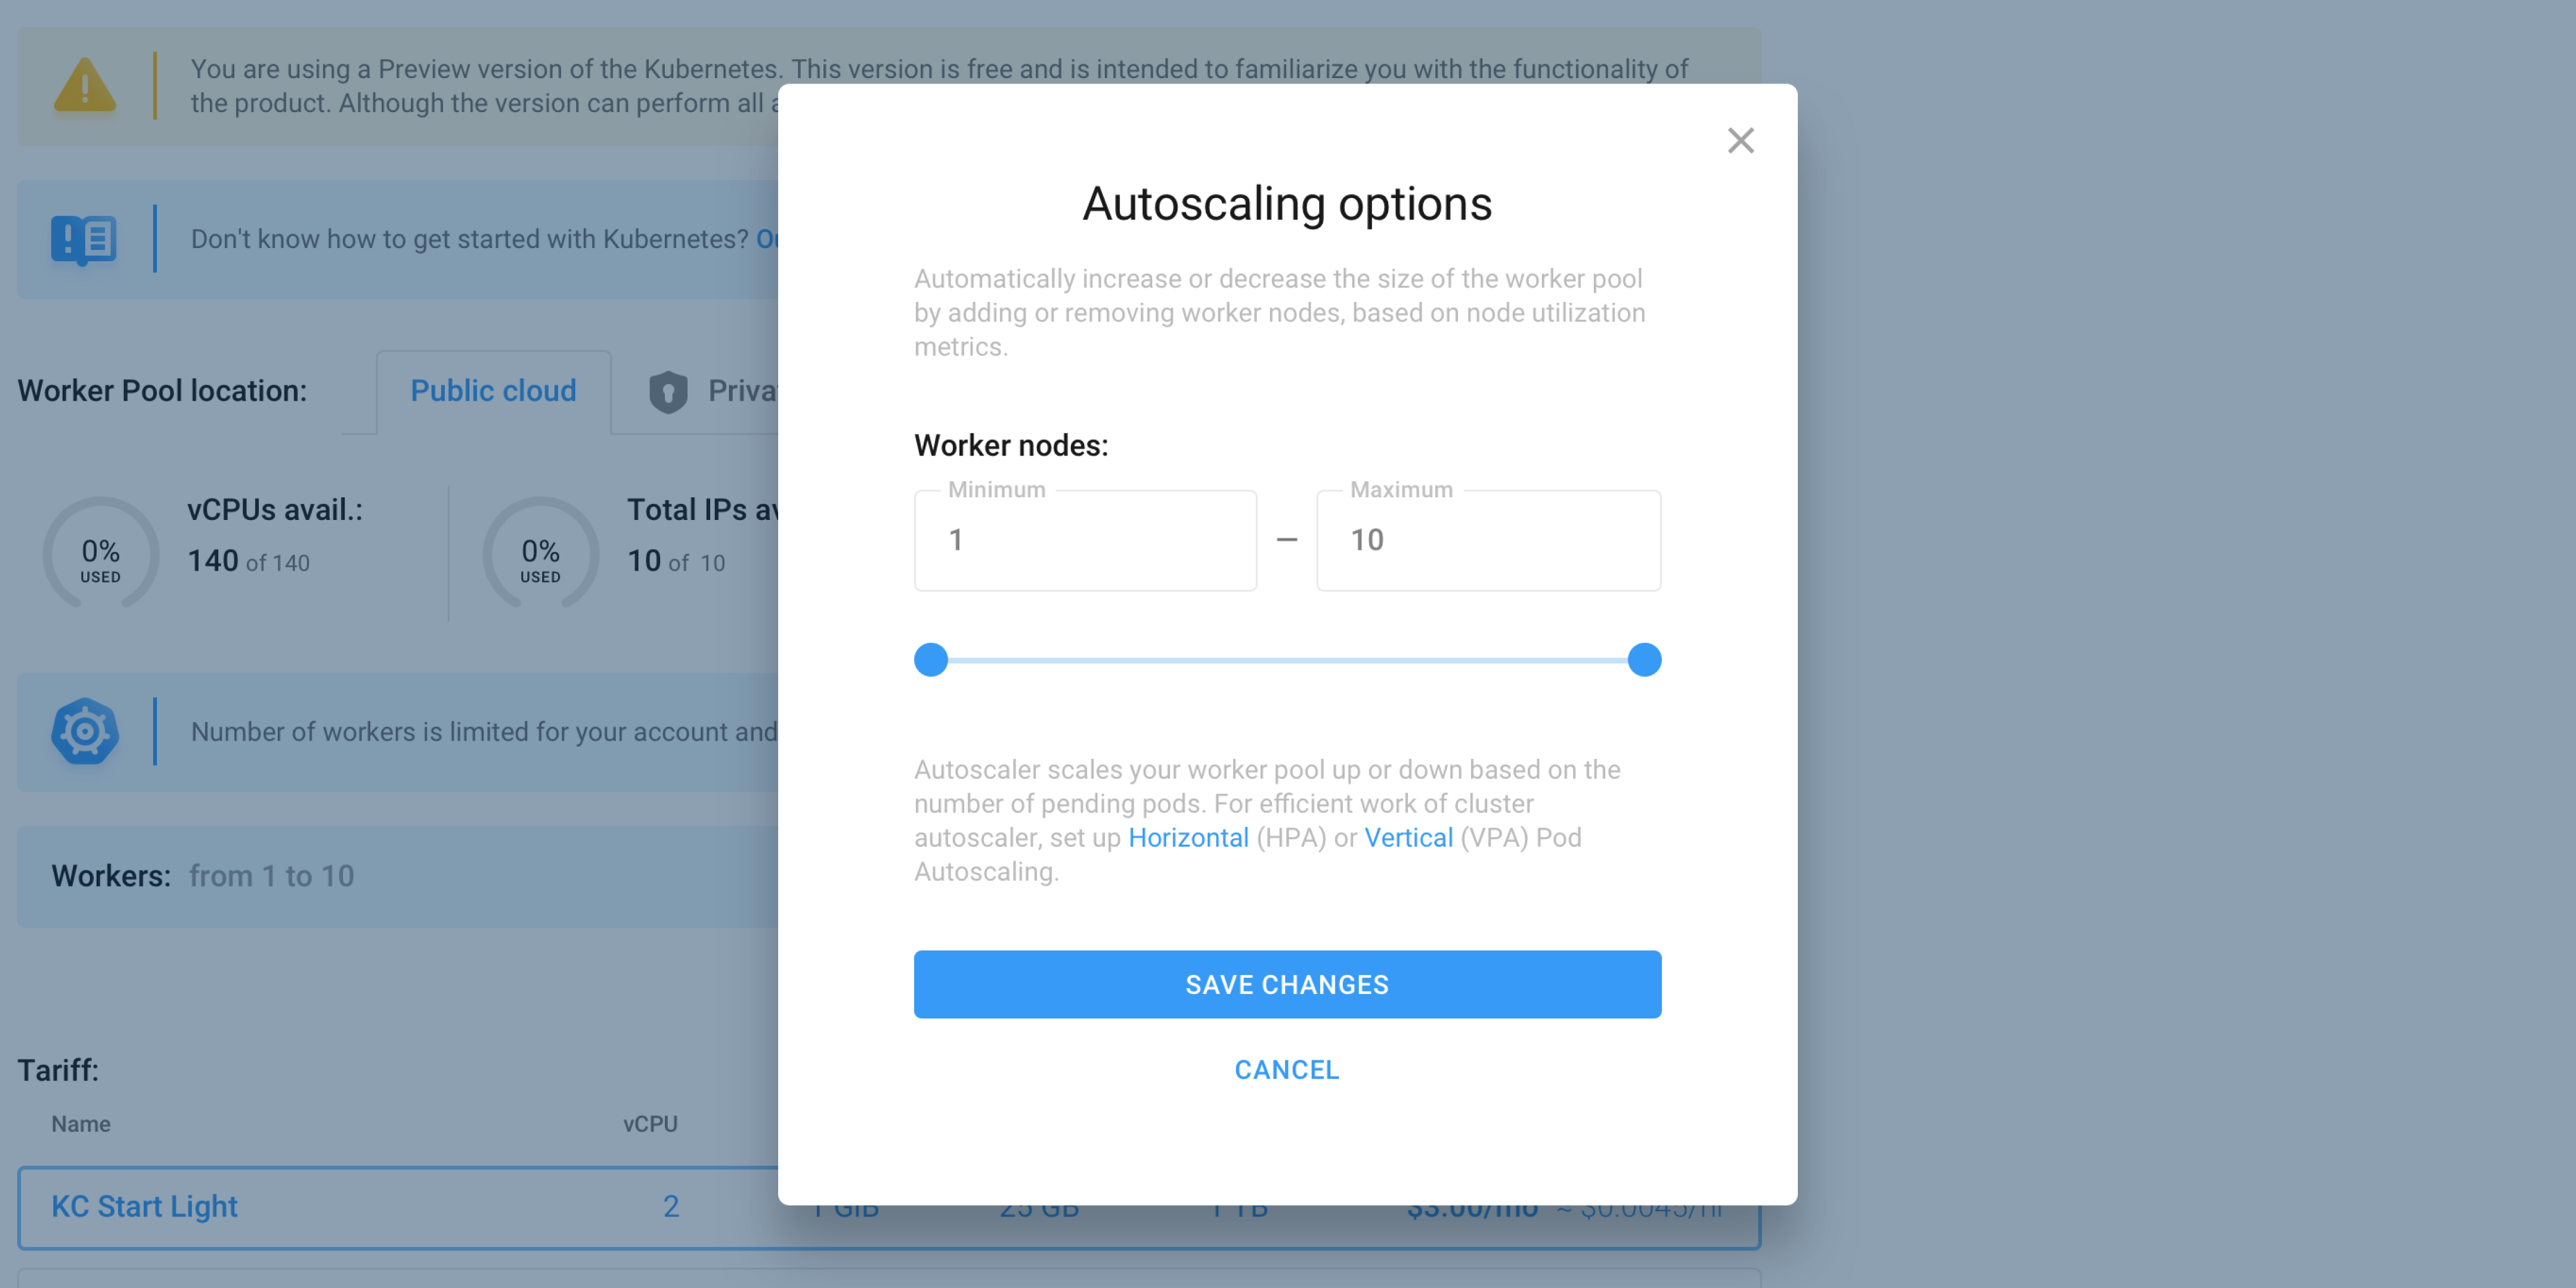
Set the minimum and maximum number of workers by sliding the range markers, then confirm to save changes.
¶ 5. Choose tariff for your workers
The maximum number of workers available to you depends on your pricing plan.
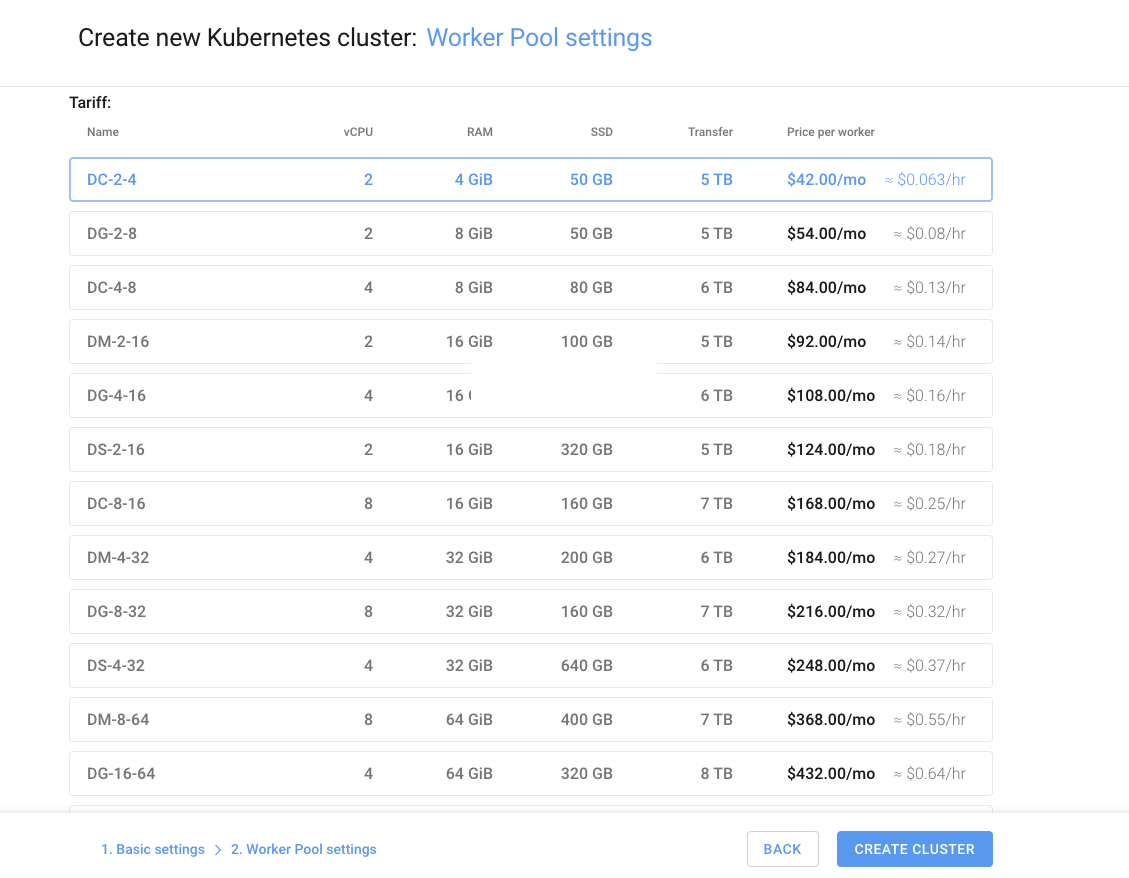
To complete the Cluster creation process, press the Create Cluster button.
¶ Create your second cluster
To create additional clusters, go back to Kubernetes start page, select Kubernetes from the Websa left sidebar navigation menu, click the Create New Cluster button, and follow the guide from step second.
