Anycast CDN Quick Start
After creating a Websa user account, navigate to the Anycast CDN section in the left navigation bar. You will be taken to the Anycast CDN Resource Creation page, where you will be presented with a resource creation screen, as shown below.
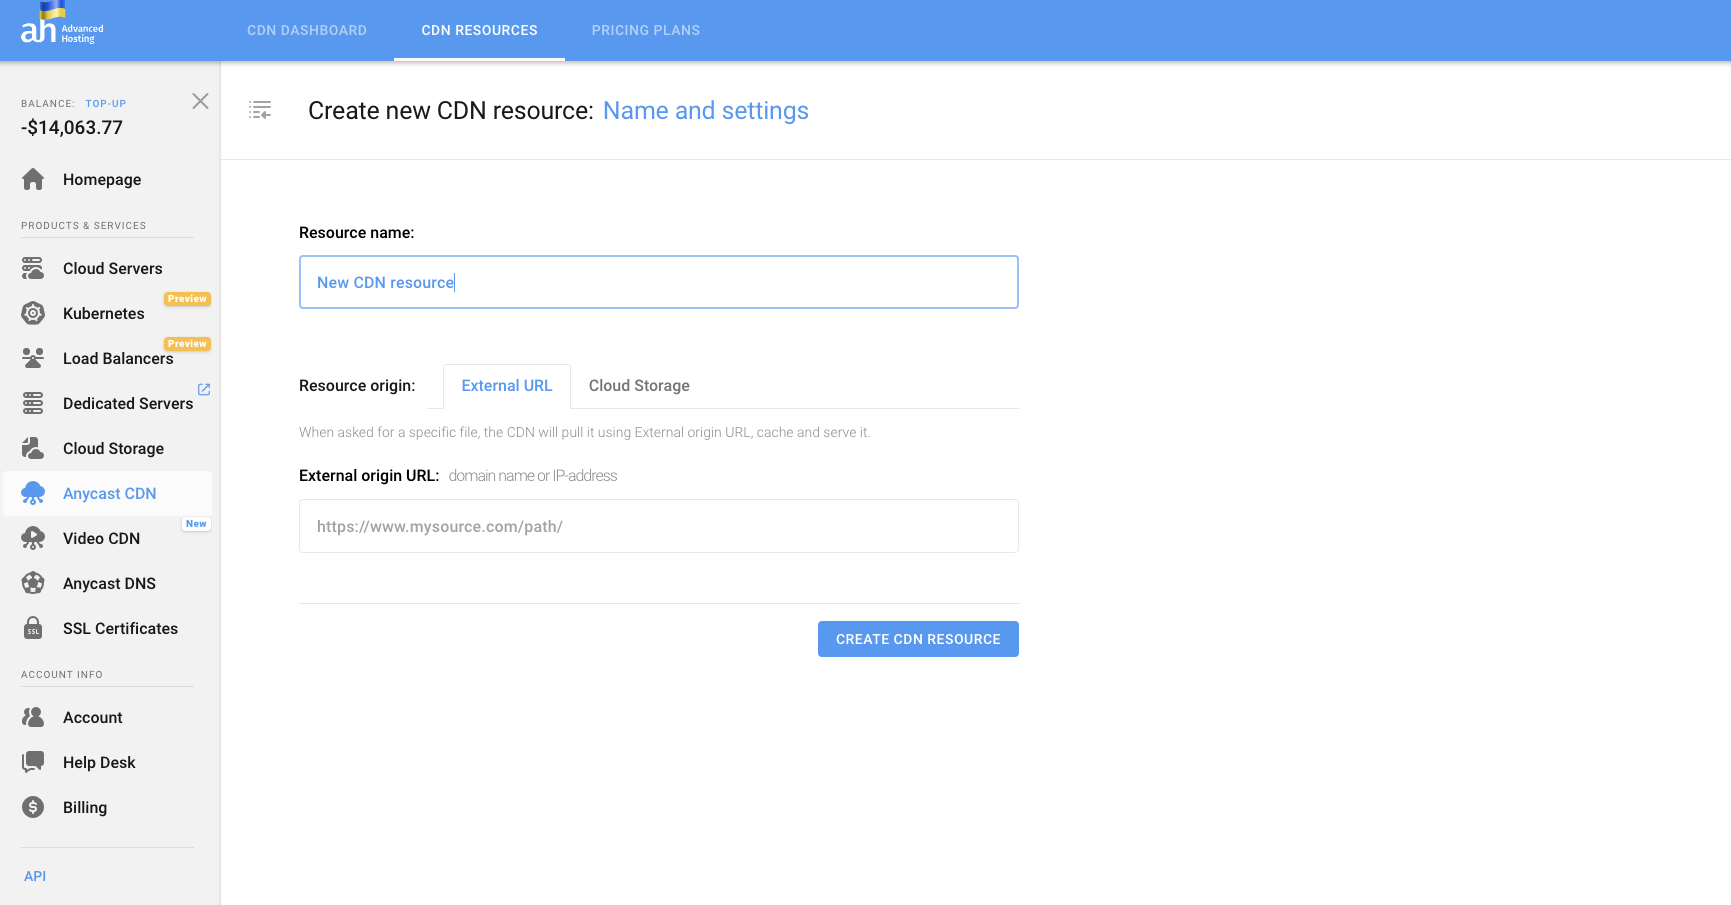
To start using the Anycast CDN service, create your first Anycast CDN resource by following the steps below:
¶ Step 1 - Name your Anycast CDN Resource
Fill in the appropriate fields with Anycast CDN Resource name and Resource folder name of your choice. Spaces are not allowed in the directory name.
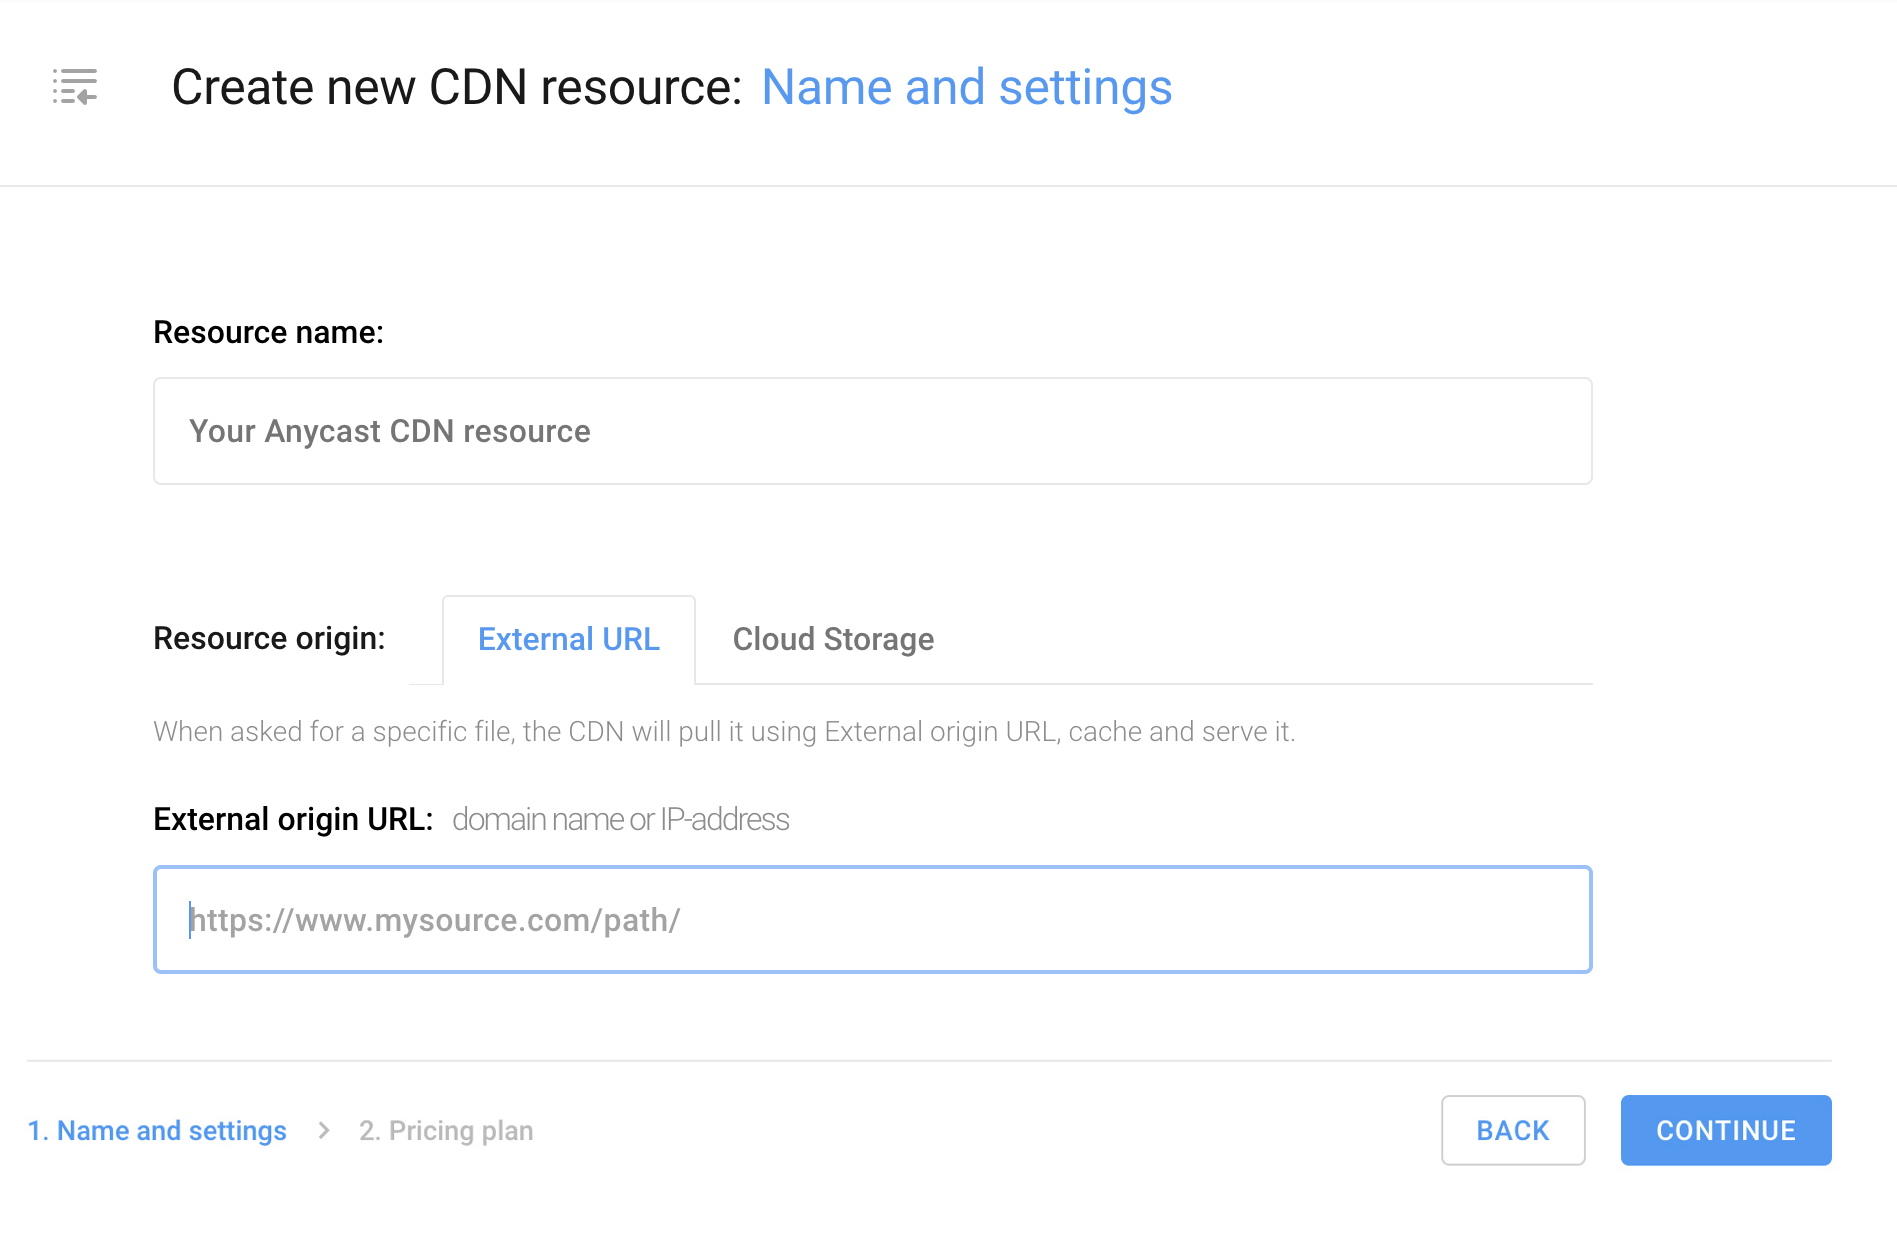
As the Resource origin, you can specify the IP address or the external storage URL, cloud or physical, hosted by you, us or a third-party hosting service, where the files you plan to distribute from Anycast CDN are directly stored.
The Origin (or the Source Server) — Your physical or virtual HTTP(S)-accessible server hosting the source directory with files you intend to distribute via the CDN, primarily designed to handle incoming requests. For example, the origin may host your website’s source code or content folders. Anycast CDN uses the source server to cache the original files and proxy requests for non-cached files.
You can also create a bucket in our Cloud Storage to use its subdirectory as an origin folder. To do this, in the Resource origin section, click the Cloud Storage tab and press Create new bucket. In the emergent modal window, as shown below, specify the name* of your new bucket and the preferred protocol.
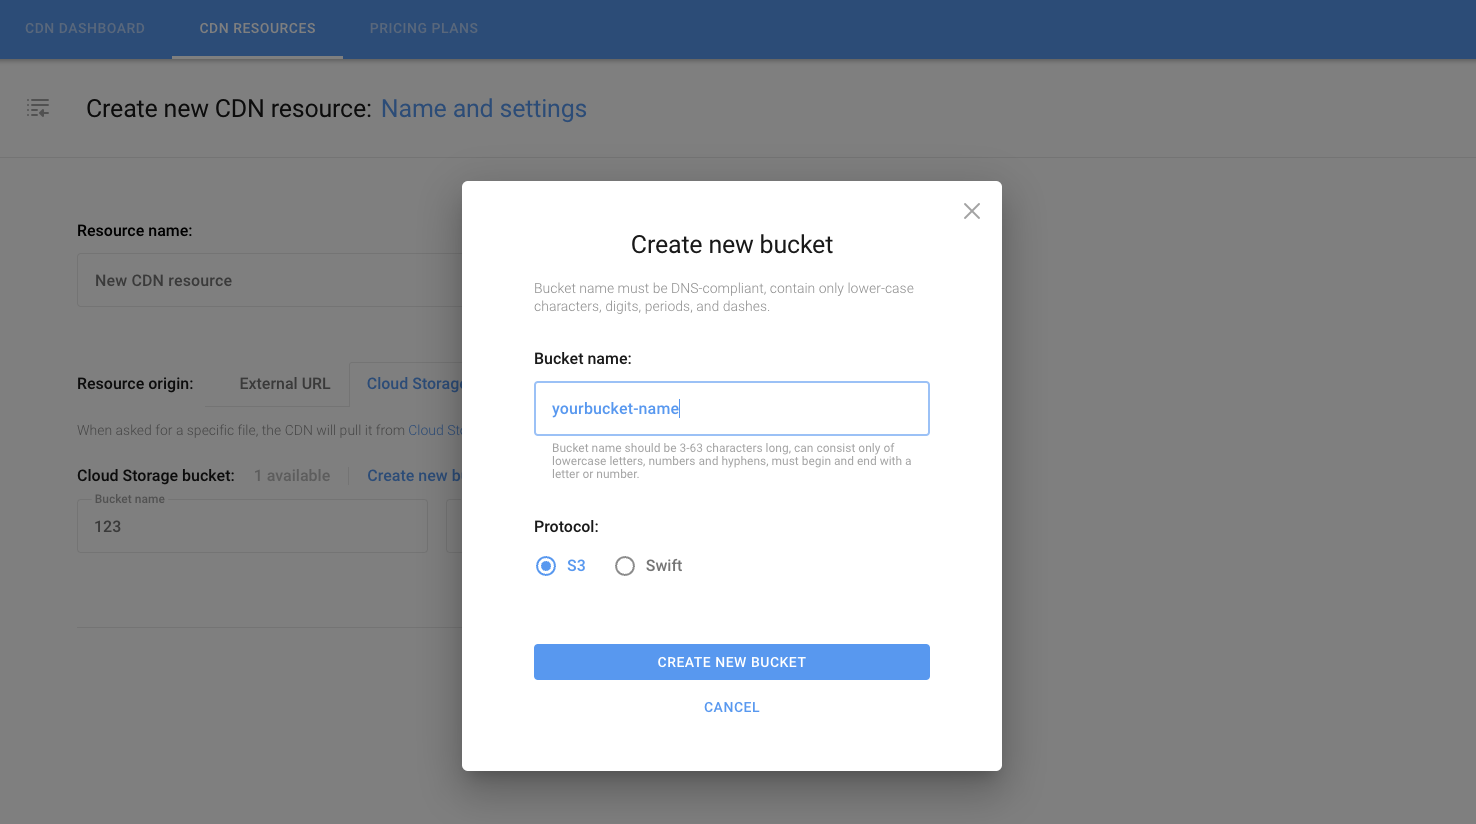
The bucket name should be 3 to 63 characters long, using lowercase letters, numbers, periods, and hyphens only.
To source your existing bucket, select it from the list as shown below:
.png)
If necessary, specify the path to a specific directory and click “Create CDN Resource.”
At this point, you will need to complete user verification if you haven’t passed it before. To do this, fill in the names of the resource and directory and click Continue. You will be taken to the payment data verification and account replenishment page.
If you have already been verified in the user panel, the Create Resource button will be displayed instead, allowing you to proceed with resource creation immediately.
¶ Step 2 - User Verification
If you are already a verified Websa user, the verification procedure will be skipped.
To access full user panel functionality and launch your Anycast CDN, top up your account with $10 or more. You can choose the top-up amount or enter it manually in the Other amount field. After confirming your payment card details, click the Top-up and get full access button.
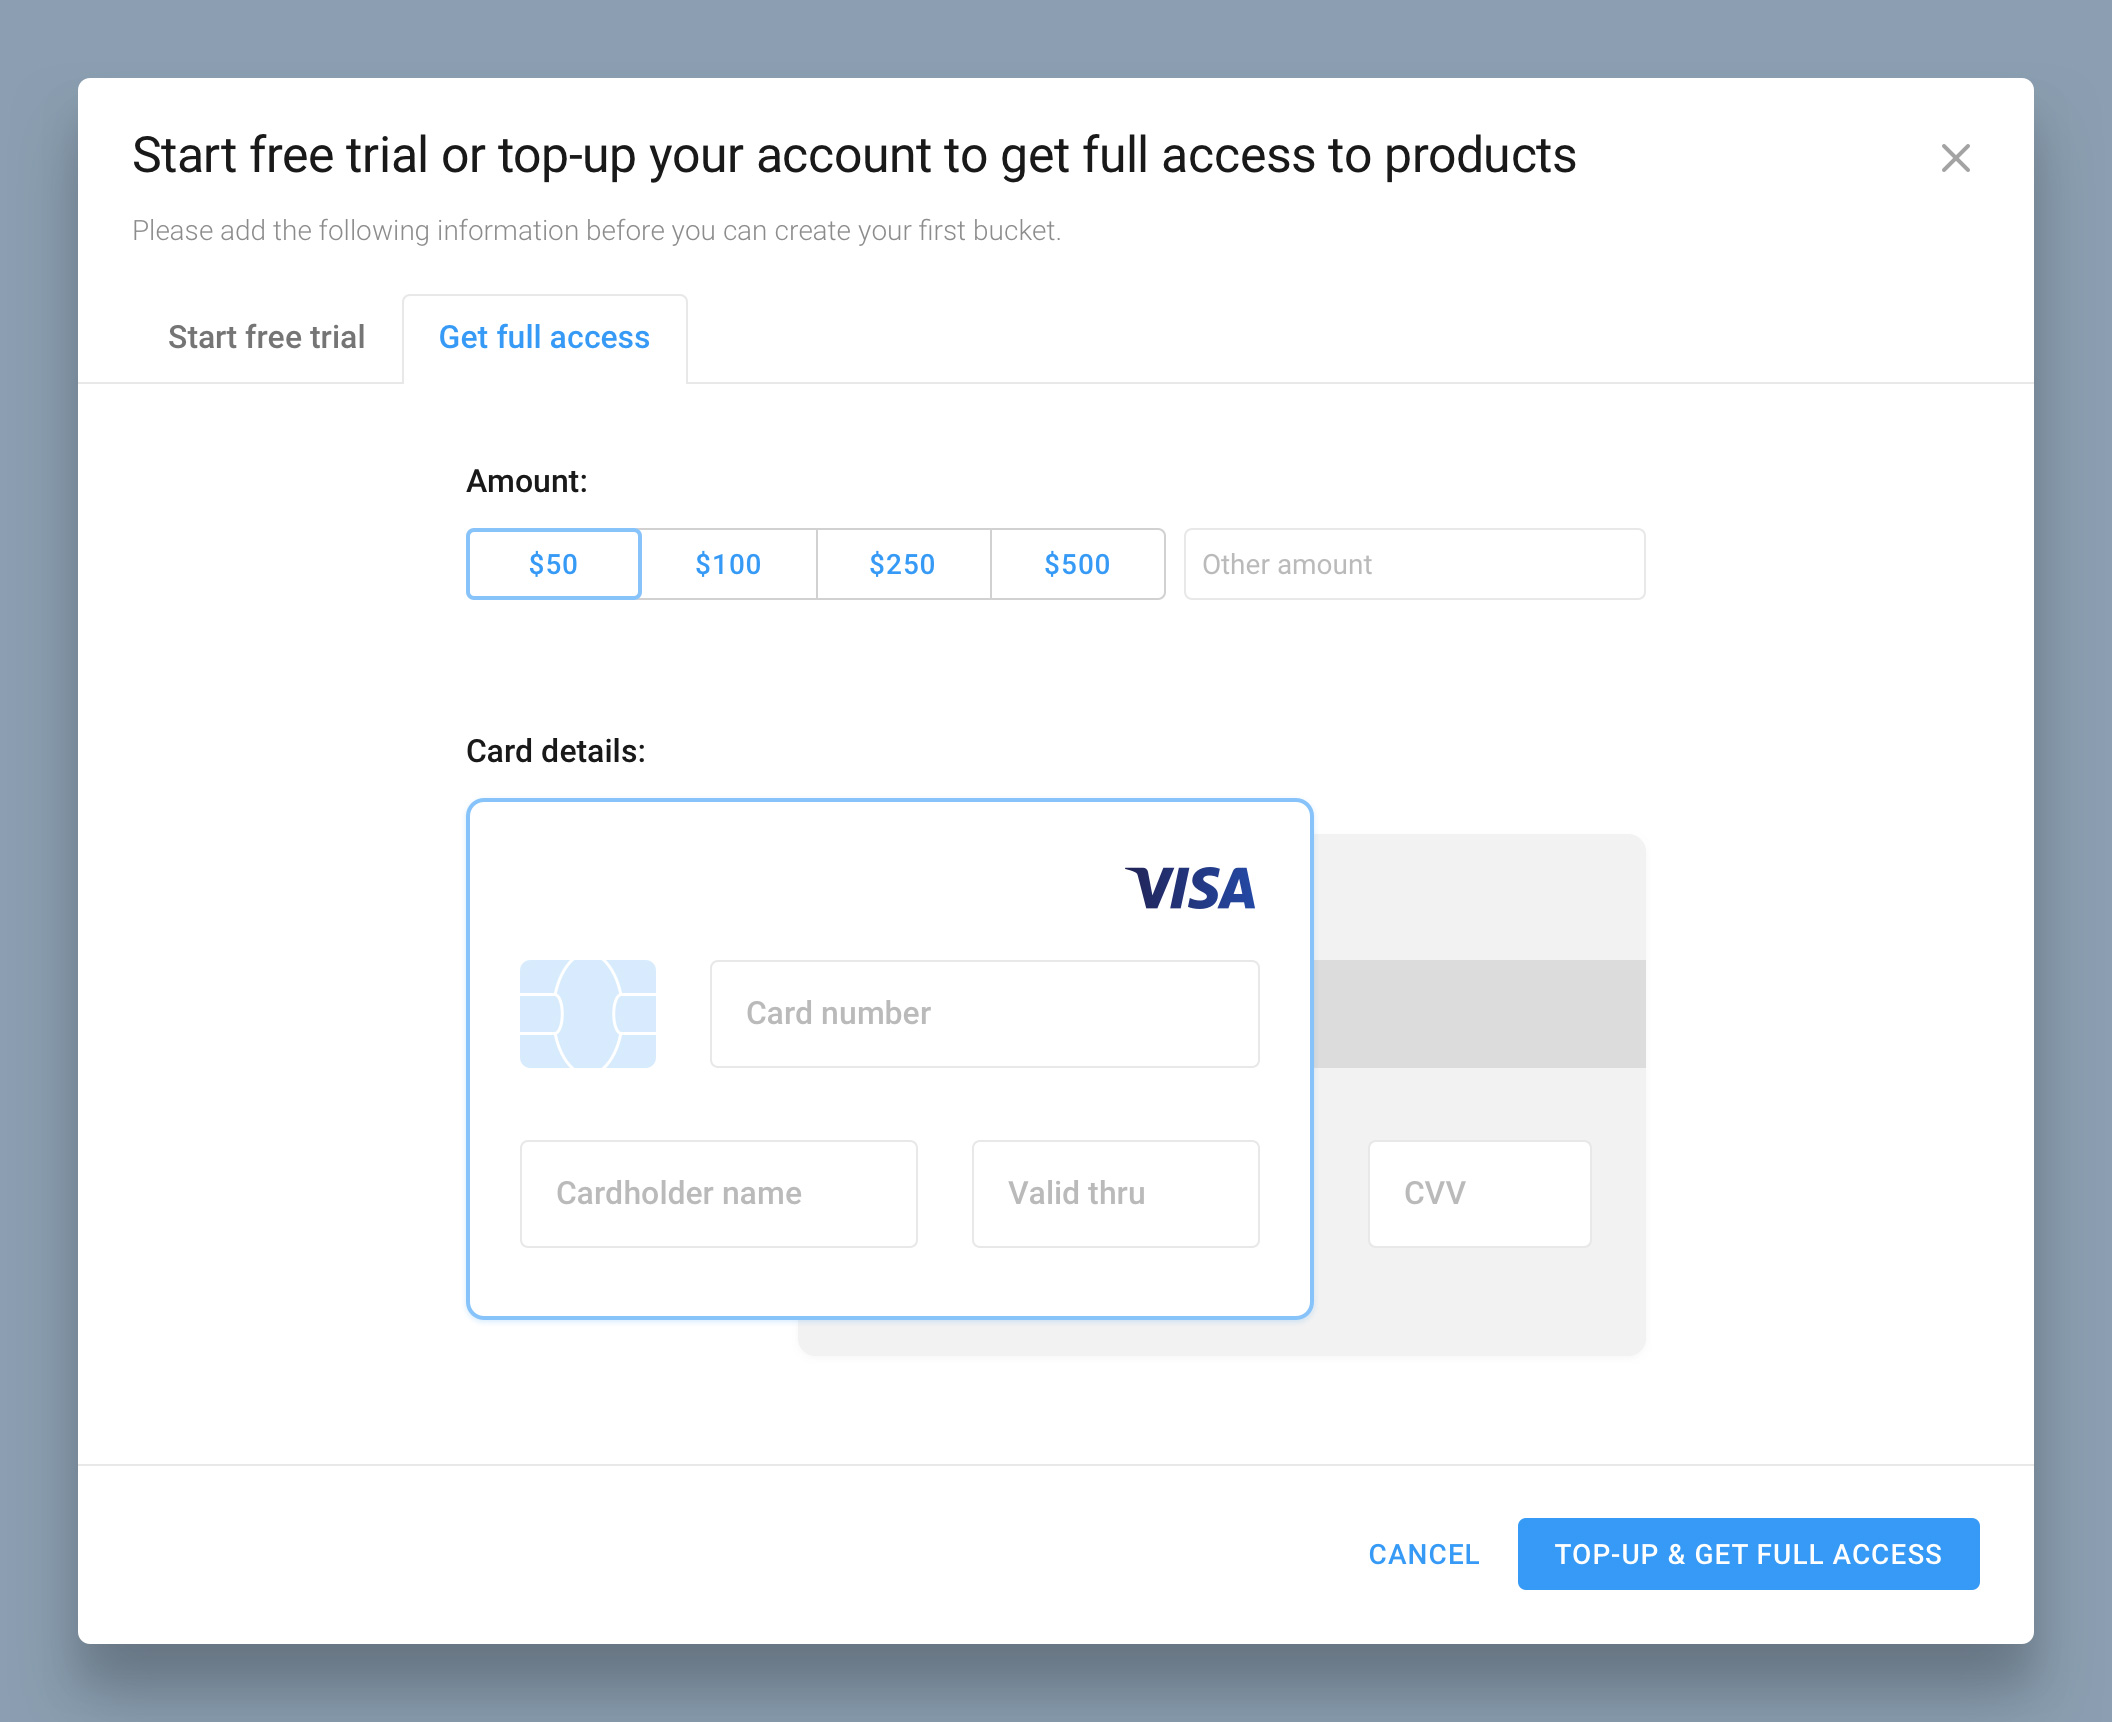
For your convenience, you can replenish your account with the amount corresponding to the cost of your preferred tariff.
¶ Step 3 - Select a Pricing Plan
Upon naming the Anycast CDN resource and specifying its directory, you will automatically move to the Pricing plan section to select a tariff.
If it’s not your first Anycast CDN resource, this step will be skipped, and your current tariff will be applied.
The pricing plans screen is divided into two tabs:
Bandwidth-based plans are determined by the video transmission speed you require. Bandwidth is calculated using the 95th percentile method, measured in megabits per second (Mbps).
Traffic-based plans depend on the amount of traffic you get. Traffic is measured in terabytes (TB or Tbytes) based on actual CDN usage.
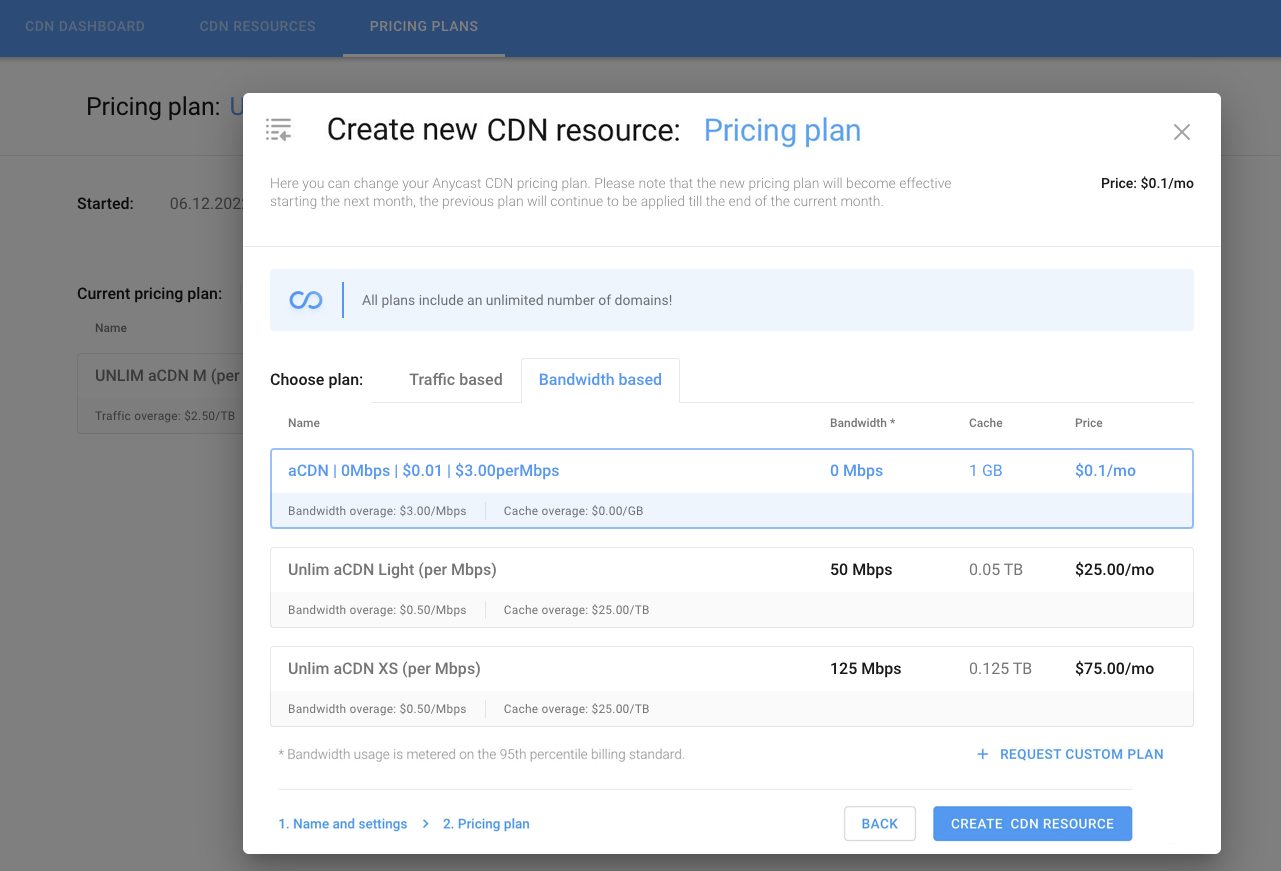
Each tariff contains a certain cache volume in addition to bandwidth / traffic. Overuse charges are indicated under each tariff’s pricing plan name. Once you have selected a suitable plan, click Create CDN resource.
If our selection of ready-made plans does not satisfy your needs, click the corresponding link to request a custom tariff.
.png)
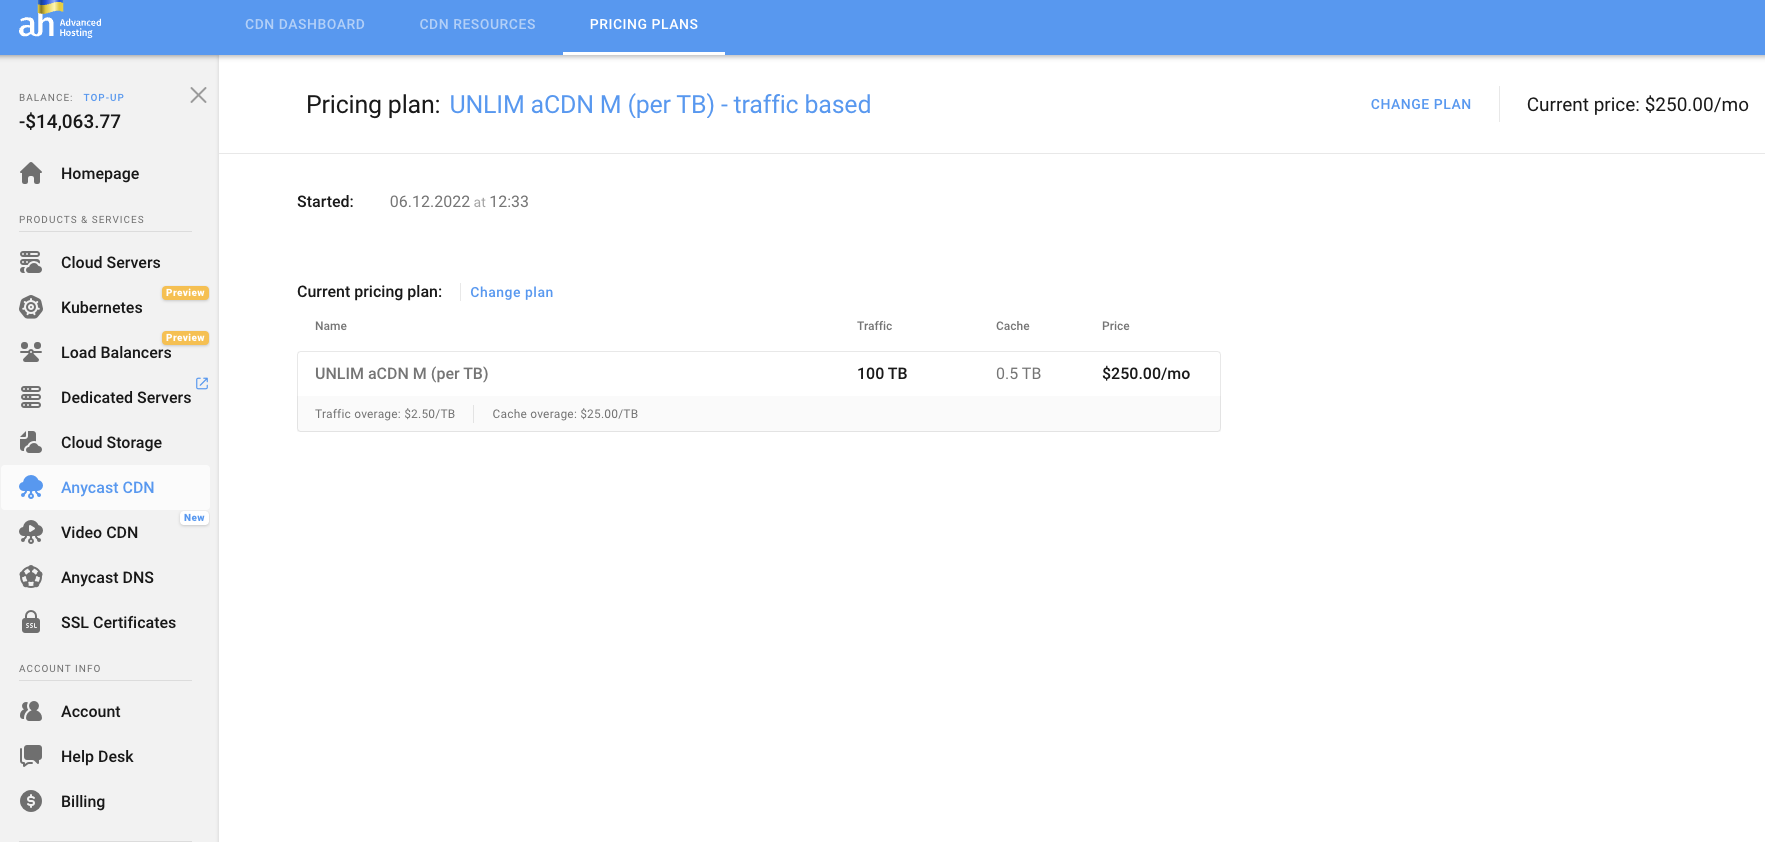
The selected pricing plan will be displayed on the Pricing Plans tab with information about the current pricing plan’s effective date and traffic / bandwidth and cache rates.
¶ Switch your current tariff
You can change your current pricing plan by clicking Change Plan and selecting the most suitable pricing plan in the displayed tariff chart. The tariff selection window is depicted below.
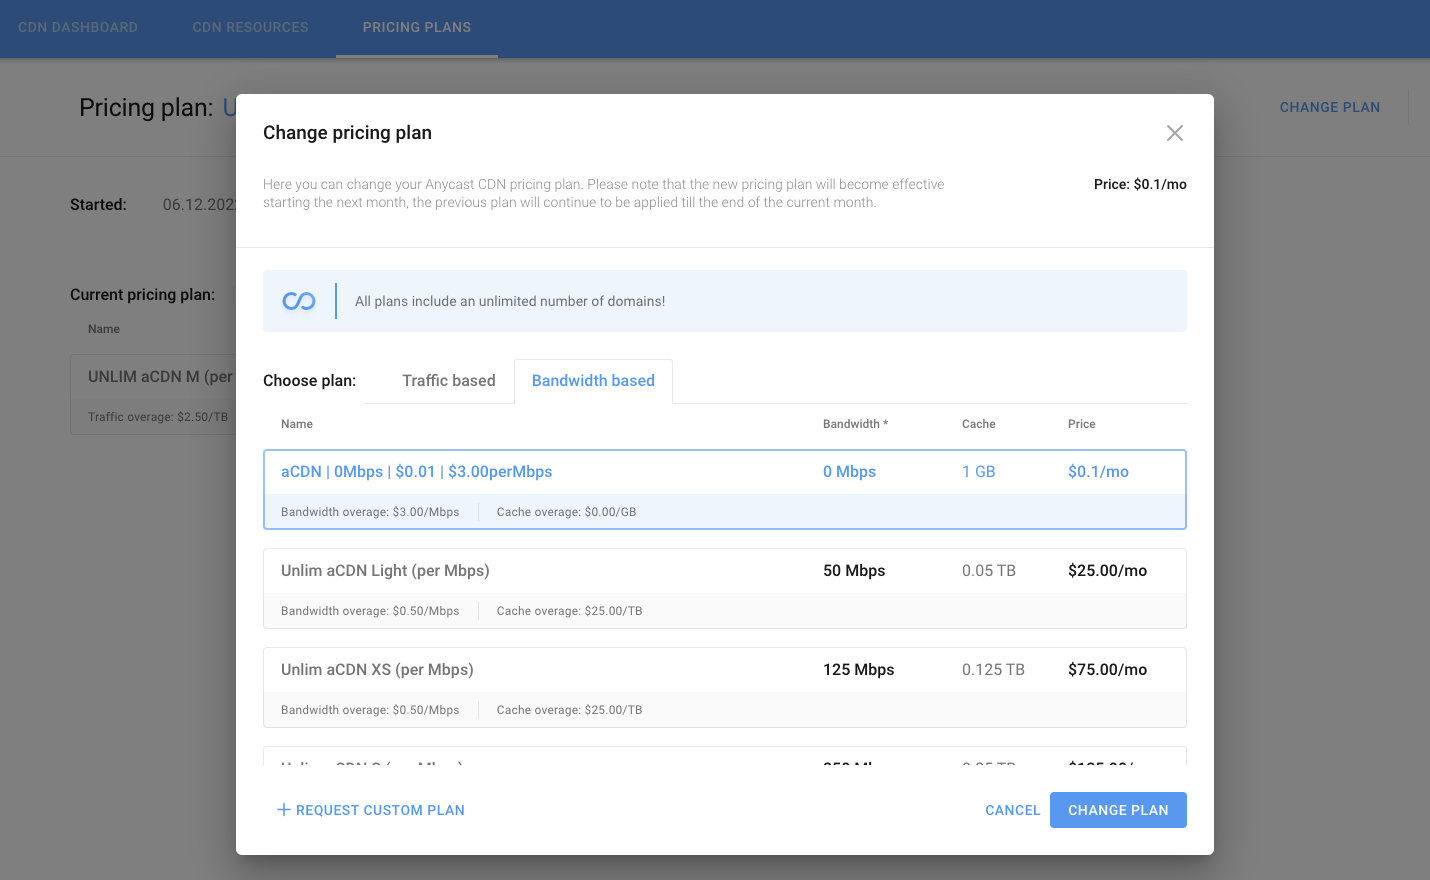
Once you have selected a suitable tariff, press Change Plan to confirm.
It may take up to 5 minutes to create a CDN resource.
¶ Resource Page
After creating a new resource, you will be taken to its Overview page at the CDN resources tab. Here you can configure and track statistics for all of your resources once you start using the service.
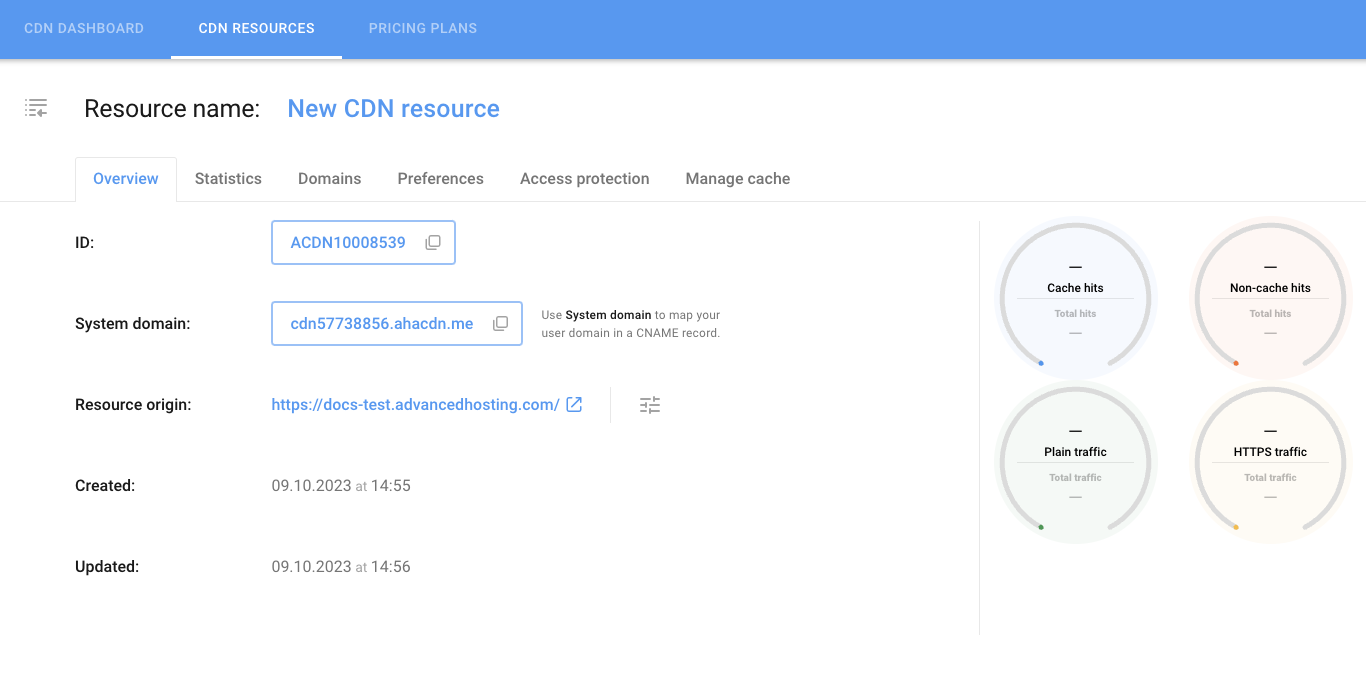
Statistics will gradually fill in the home page widget and Statistics tab as they are generated during your Anycast CDN use.
On each resource’s start page, you have access to:
- general information about your resource in the Overview tab and statistics widget
- detailed statistics for the period by bandwidth, traffic, and cache on the Statistics tab
- system and user domains associated with this resource (Domains tab), their settings, and related certificates
- CDN settings for this resource on the Preferences tab
- resource content access settings on the Access Protection tab
- cache management and caching settings on the Manage Cache tab.
See Anycast CDN Resource Settings for details on configurable Anycast CDN parameters.